Arduino™ Project #1
© JG Electronics
Arduino Hardware Set Up #1
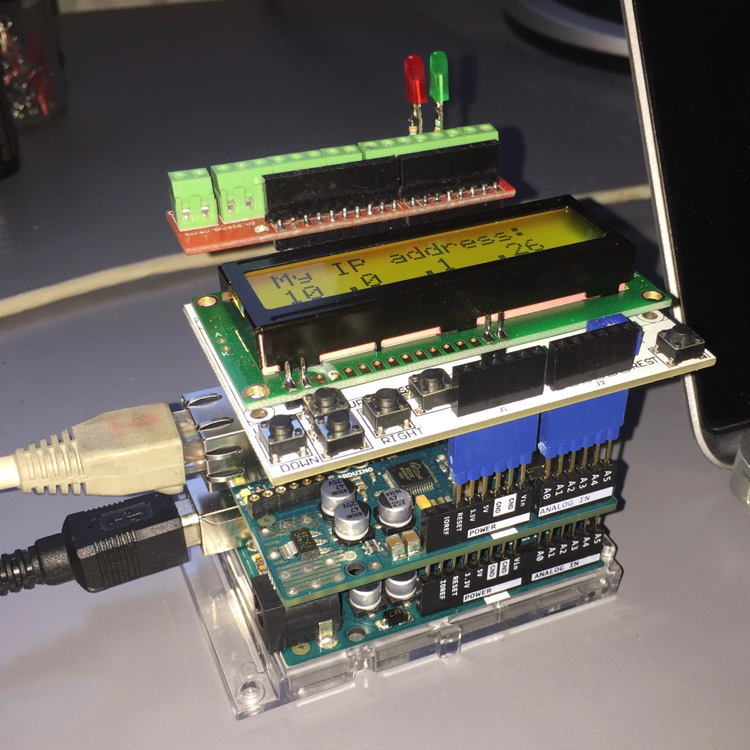
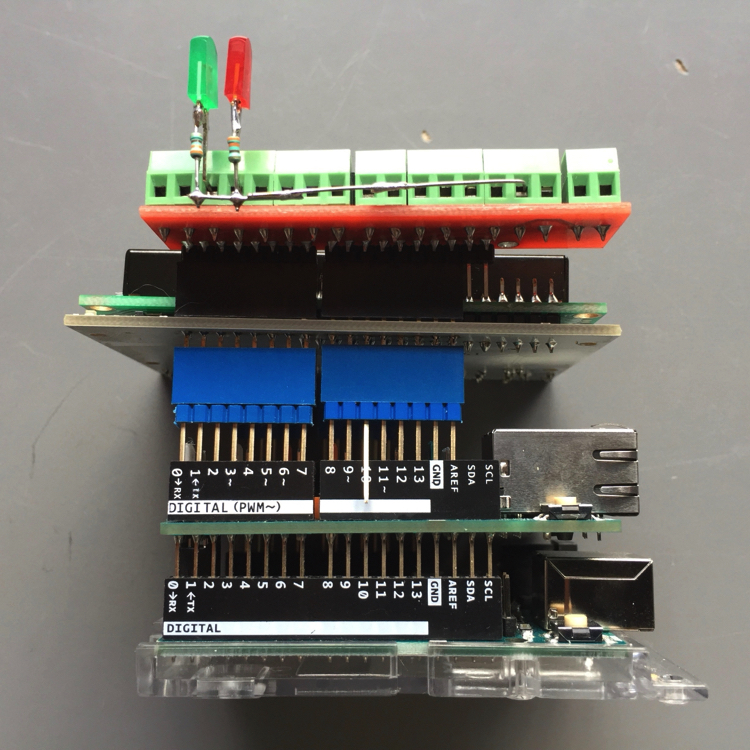
Connect the Ethernet Shield to the Arduino UNO and connect the LCD Shield with extension connectors to the Ethernet Shield but don't connect output pin 10 to the LCD Shield (see picture) because that causes flickering of the back light of the LCD.
Arduino set up and software
Connect the Arduino UNO board with an USB cable to your MacBook™ and the Ethernet Shield with a RJ45 Ethernet cable to your Router.
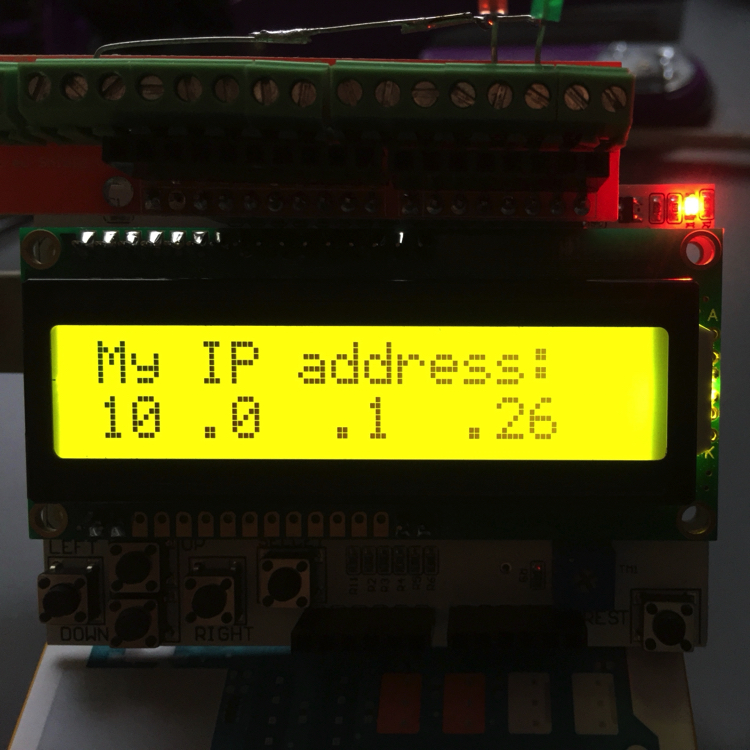
Start up the Arduino IDE, open the sketch file "20171214DhcpAddress.ino" and upload the sketch to the Arduino.
Processor board with WiFi
LCD Display Shield
LED's
Hardware Set Up
Arduino Sketch
Documentation
Arduino UNO Rev3
16 x 2 LCD Keypad Shield V2
330 Ω Resistor in series with LED
Arduino Hardware Set Up #1
20171214_DhcpAddressPrinter.ino
JGE Arduino Projects Manual
See Pictures
Ethernet Shield
Arduino Ethernet Shield 2
Arduino Starters Guide
Arduino SIK-Guide


